Chapter 4.5 - Using an Existing Project
Repository
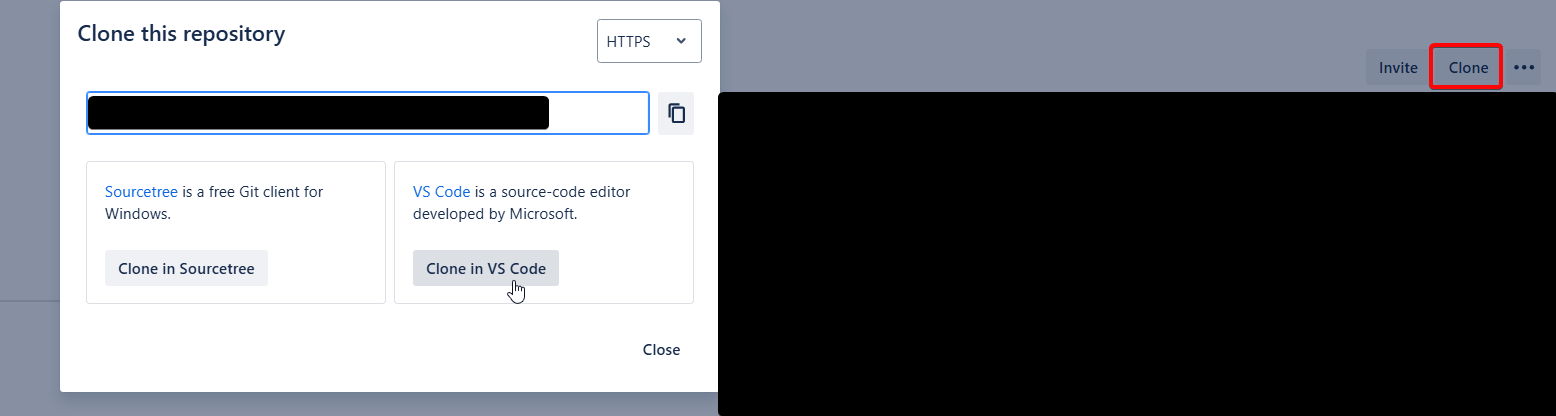
 Log in to the Org that you will be working against. Presumably a scratch org, but if you're still using persistent Orgs, this means login to Production, and Dev orgs as needed, using
Ensure your workspace has Source Source Tracking, Atlassian, and Salesforce icons.
Log in to the Org that you will be working against. Presumably a scratch org, but if you're still using persistent Orgs, this means login to Production, and Dev orgs as needed, using
Ensure your workspace has Source Source Tracking, Atlassian, and Salesforce icons.
Salesforce
Enable Dev Hub and Enable Source Tracking in Developer and Developer Pro Sandboxes are both checked.
These settings allow both the CLI and Change Sets to function with Source Tracking.
This fully replaces the usual "compare the source and the target organizations
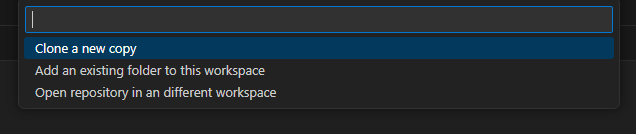
VSCode
sf org login --alias MyOrg with MyOrg being the org type (examples: Client-Prod, Client-Dev, Client-ScratchFeatureName)Start working in Salesforce, then go the Terminal and run
sf project retrieve start --target-org MyOrg --ignore-conflicts --wait 20 where MyOrg is the organization you have logged in to which contains what you want. This assumes Source tracking is on.
This works best if you are the only one working in an Org. If you are not, you might want to start using Scratch orgs. Otherwise, you will see all the changes done by everyone.
sf project deploy start --target-org MyOrg --ignore-conflicts --wait 20 where MyOrg is the organization you have logged in to which must receive what you got. This assumes Source tracking is on. If Source Tracking is not on, or you want to do a full send, you can run sf project deploy start --target-org MyOrg --source-dir force-app --ignore-conflicts --wait 20
Go to Source tab in VSCode, then add a commit message, Stage the changes required, and Commit.
Push your changes (the cloud with an upwards arrow - name may change based on context)
