Chapter 6 - Creating a New Project
Setting up the Project
SF Cli Project
- Open VSCode and navigate to the folder where you want to create the Project - presumably
somefolder/sfdx_projectsor equivalent - Use CTRL+SHIFT+P to open the VSCode Command Panel and type SFDX, then select
SFDX:Create Project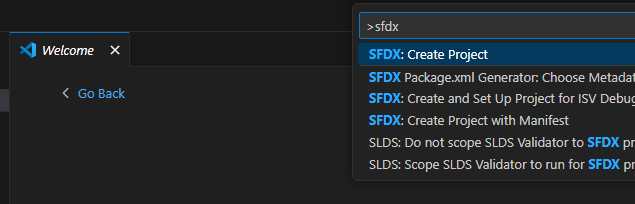
- Select
emptythen type the name of your project and type Enter. - This will create a new SF Project. VS Code will ask if you want to open the folder - say yes.
- You should now have the VScode Project open.
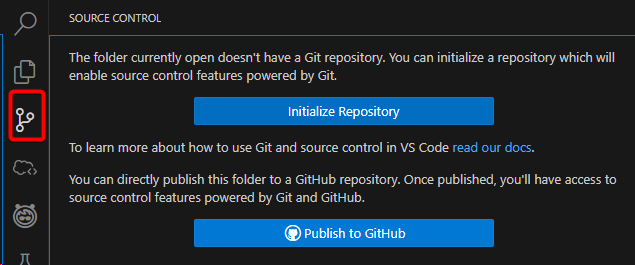
- Select the Source tracking tab of VS Code and click "Initialize Repository"

- Go to Bitbucket and create a repository.
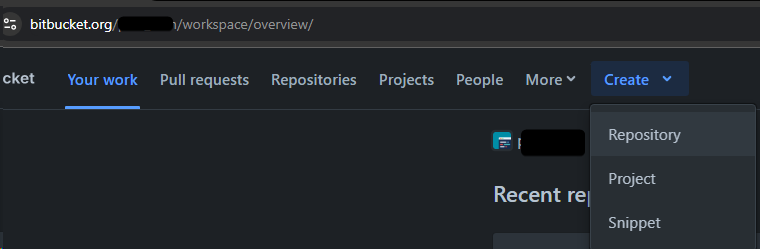 Make it "empty" and refuse to add a GitIgnore.
 - Copy the URL given by Bitbucket in the format
https://[email protected]/MYWORSPACE/MYREPO.gitwhich should be displayed in the screen. - Select the three dots at the top right of the leftmost panel, then click "Add Remote"
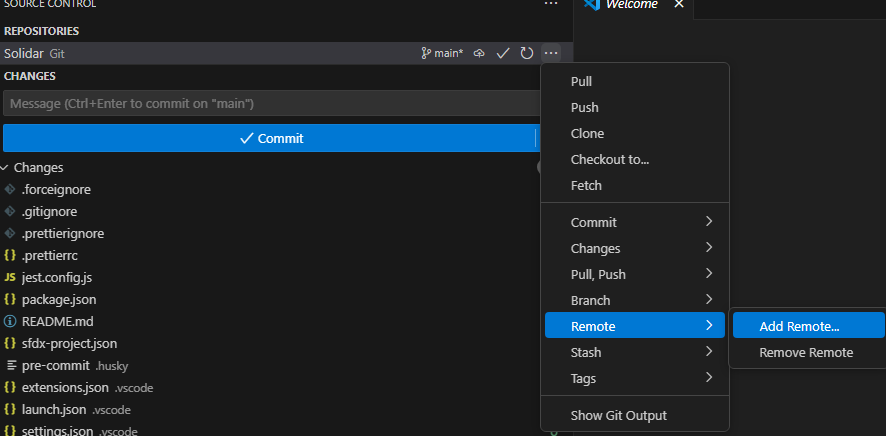
- Paste the URL, select "Add Remote from URL". When asked for the remote name, type
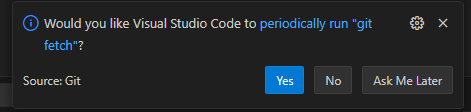
originthen press enter. - At the bottom right, click yes on "Run Fetch periodically".

- run
git push --set-upstream origin mainin the VSCode Terminal to sync your local and remote branches.


Fetch your Salesforce Metadata
- Login to your Salesforce org. This can be done using CTRL+SHIFT+P
Authorize an Org, or runningsf org login web --alias MyOrgin the terminal where MyOrg is the name you want to give to the org. - Run
sf project retrieve start --target-org MyOrg --ignore-conflicts --wait 20 - Commit the state of the project and push
No comments to display
No comments to display